How do I manage Student Groups?
Guide to creating quick access to data for special student groups
District Managers can create student groups at the district or individual campuses. Once created, the campus/district managers can add/remove students to these groups depending on where the group was created.
About Student Groups:
District managers can create student groupings within Istation to allow for easy reporting of a particular subset of students. This can be used for special education, RTI groups, tutorial groupings, virtual learning, dual language, ESL, and bilingual populations. By creating a student group, users can view subpopulations within that group (e.g., dyslexia students in bilingual) and use the demographic selections on reports, whereas using the demographic menus allows for only one selection at a time (i.e., only dyslexia or bilingual).
Level of Access:
District Level Groups: District managers can add/remove students and run reports for the groups, Campus Managers can run reports for the group, but not edit the groups. Teachers can run reports for groups that include students they teach if view access has been granted (see below).
Campus Level Groups: Campus Managers and teachers can add/remove students to/from student groups and run reports for groups based on the access level below, which is put in place by the district manager when the group is created at the campus.
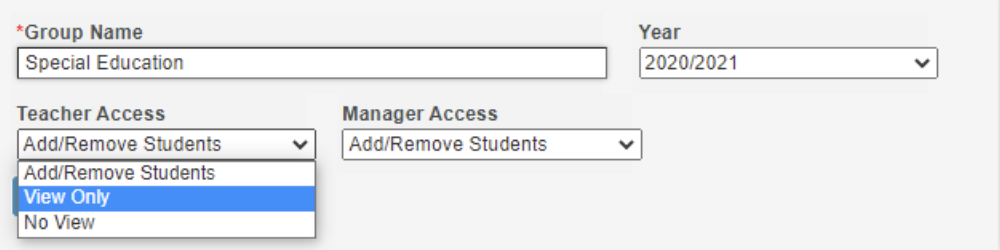
Istation respects district preferences to read and edit rights to these groups. Permissions for both Teachers and Managers include:
- No View: Teachers and/or managers can not view student groups.
- View Only: Teachers and/or managers can view student groups but not edit.
- Add/Remove Students: Teachers and/or managers can add or remove students to specified groups.
 Step-by-Step Guides
Add Student Groups at the District
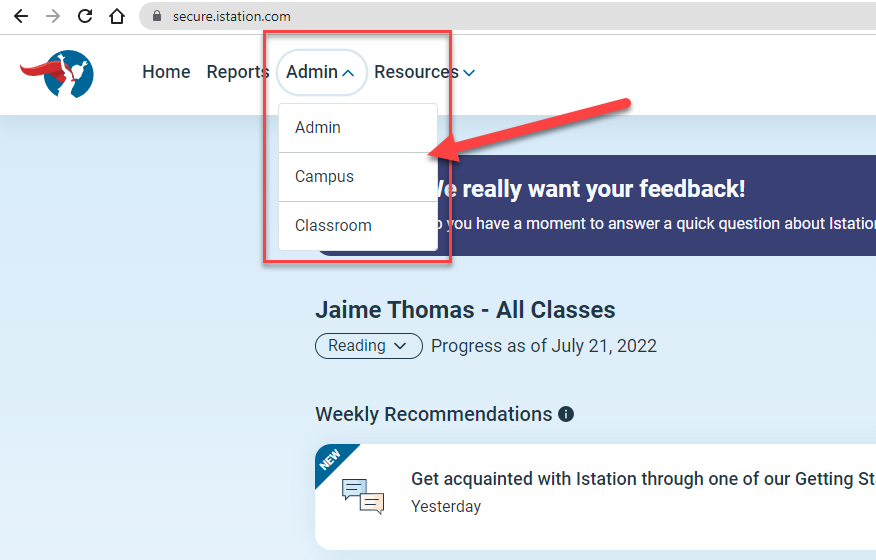
Step 1: Once logged in to Istation, select the Administration tab at the top of the page. Note: Only district managers can perform this task.

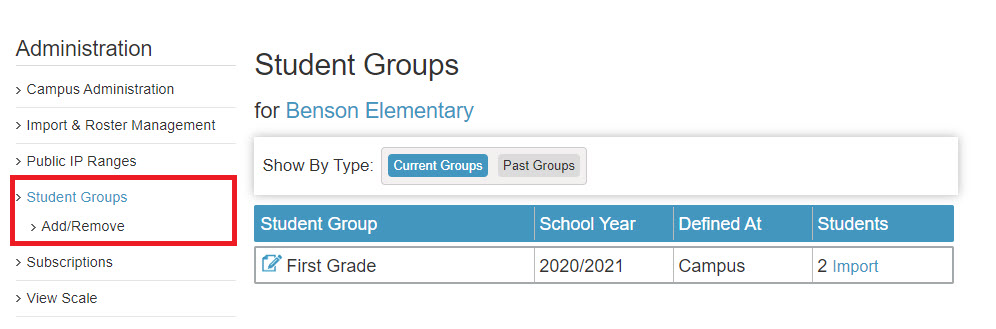
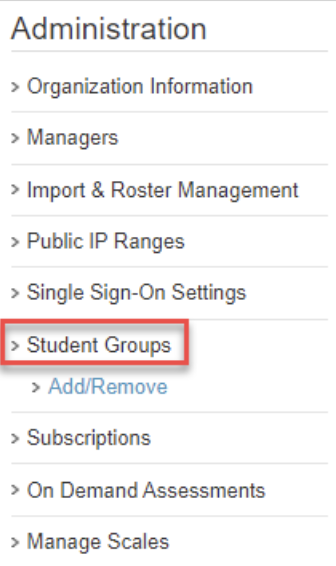
Step 2: Go to the menu on the left, and select Student Groups to review the currently created groups. This shows the current groups. The options at the top of the page can be used to view previously created groups.
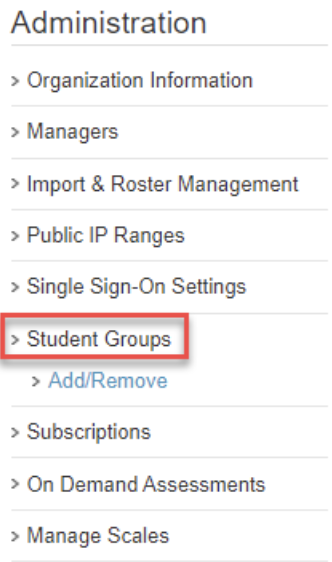
Step 3: Select Add/Remove and create a meaningful group name for all who will interact with that group. Verify that it is for the correct year.
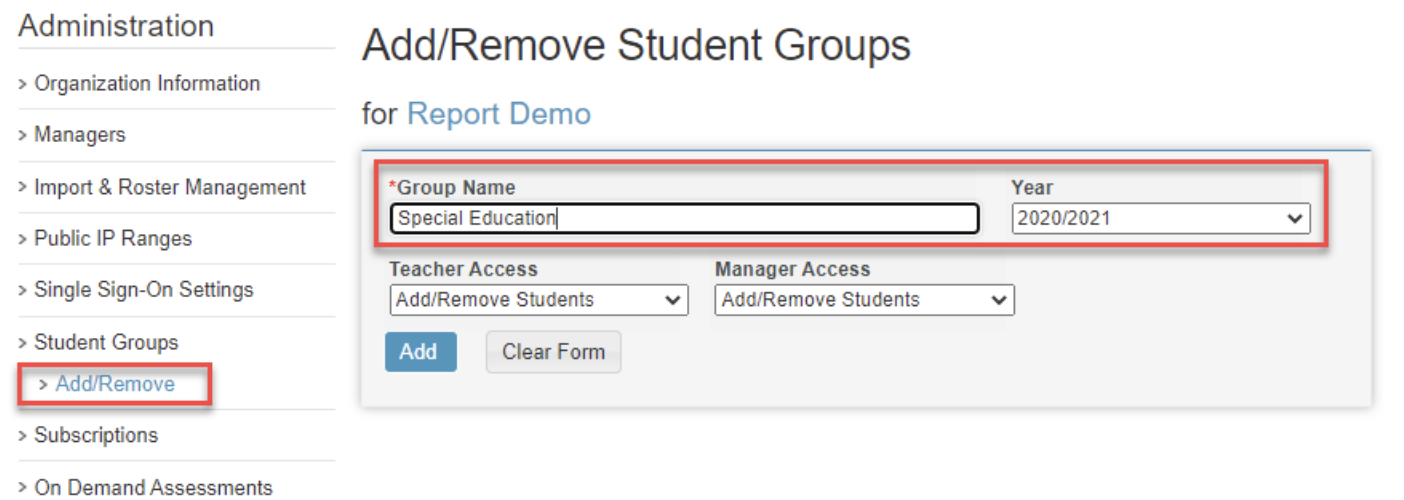
Step 4: Select the appropriate access level for both teachers and managers.

Step 5: Click Add.
DeleteAdd Student Groups at a Campus
Step 1: Select a campus page, then click on Administration on the left of the screen. Note: Only district managers can perform this task.

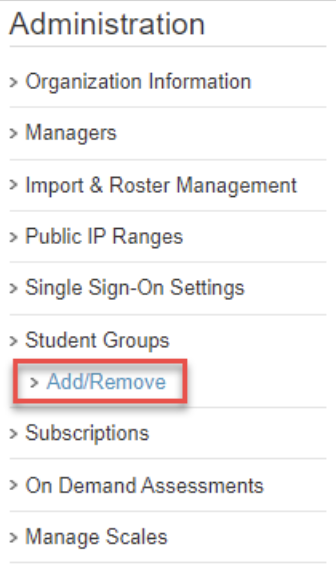
Step 2: Select Student Groups to the left, then on Add/Remove.
Step 3: Create a meaningful group, ensure the year is correct, and select the appropriate Teacher Access to the group.

Step 4: Click Add.
DeleteRemove Student Groups
Step 1: After logging in, select the Administration tab at the top of the page.
Step 2: Select Student Groups on the left to review the currently created groups. This shows the current groups. The options at the top of the page can be used to view previously created groups.
Step 3: Select Add/Remove.
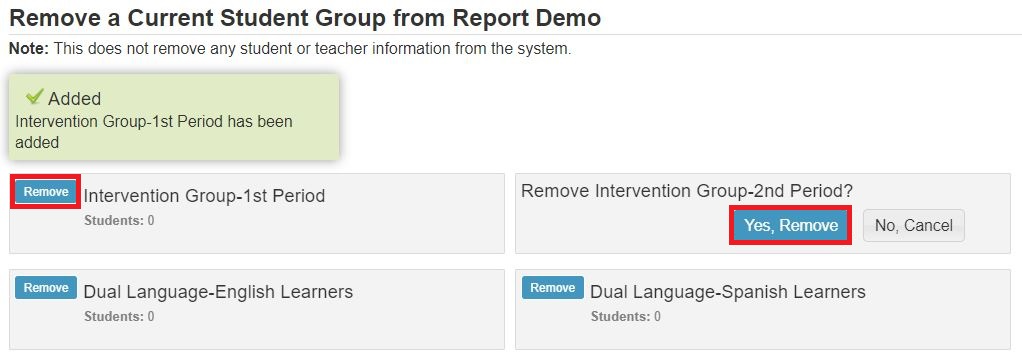
Step 4: Select Remove next to the group to be removed and click Yes, Remove to verify the decision.
Add Students to a Student Group for Managers
Step 1: After logging in, select the Administration tab at the top of the page. Note: District Managers and Campus Managers who have been given Add/Remove permission can perform this task.
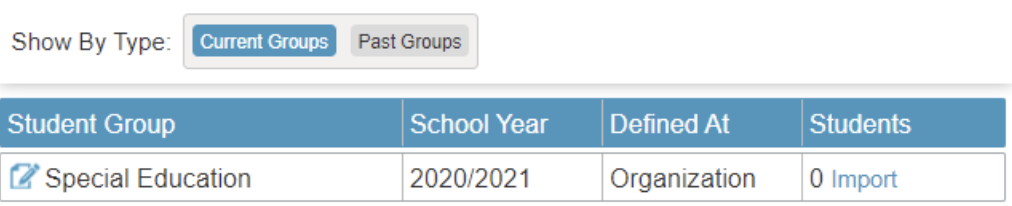
Step 2: Go to the menu on the left, and select Student Groups to review the currently created groups. This shows the current groups. The options at the top of the page can be used to view previously created groups.
Step 3: Select Import for the group where students must be edited.
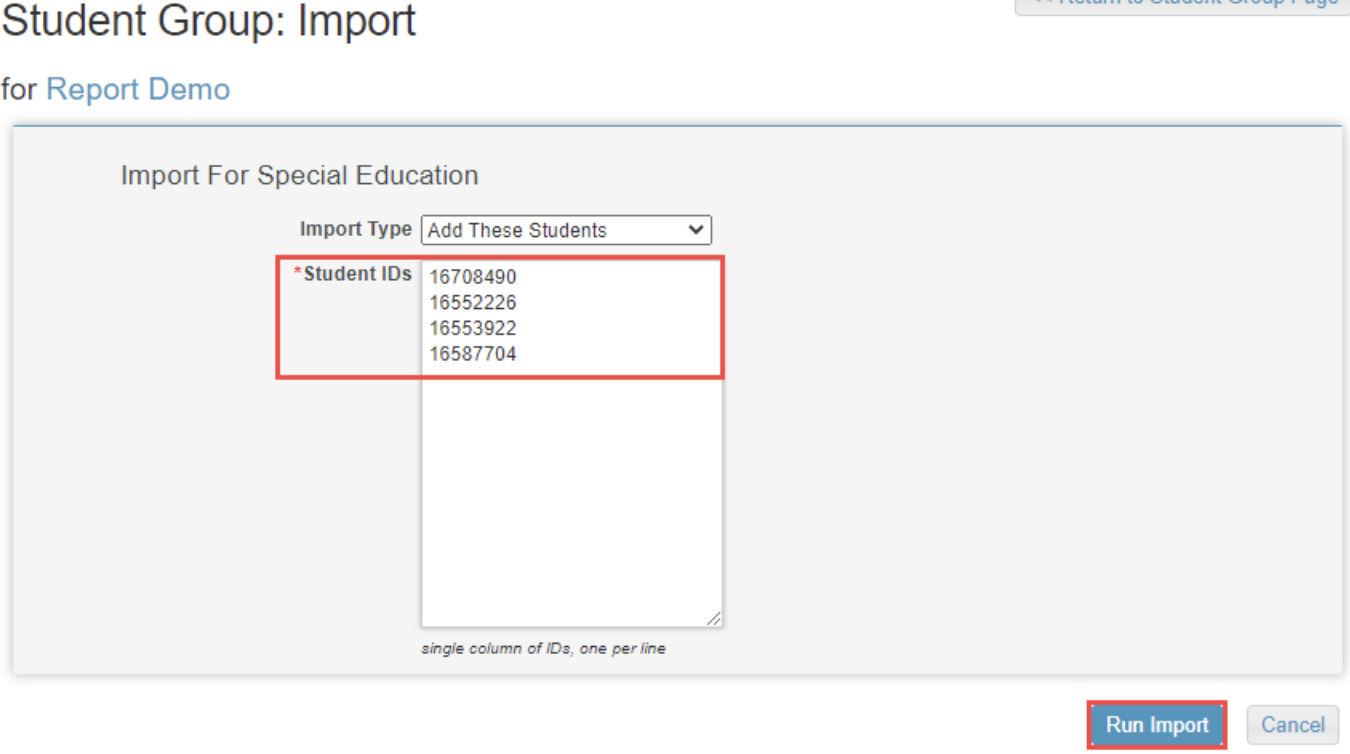
Step 4: Select Add These Students or Set to ONLY These Students.

Step 5: Copy student IDs from the original source and paste them in the Student IDs field. They should be in a single column with one ID per line, then click Run Import.
Remove Students from a Group for Managers
Step 1: After logging in, select the Administration tab at the top of the page. Note: District Managers and Campus Managers who have been given Add/Remove permission can perform this task.
Step 2: Go to the menu on the left, select Student Groups to review the currently created groups. This shows the current groups. The options at the top of the page can be used to view previously created groups.
Step 3: Select Import for the group where students must be edited.
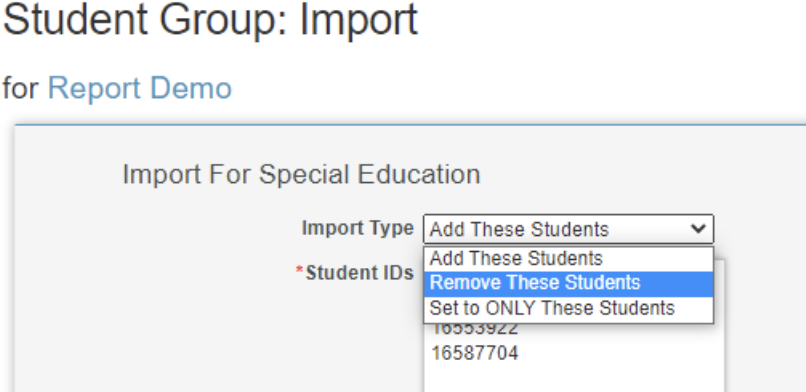
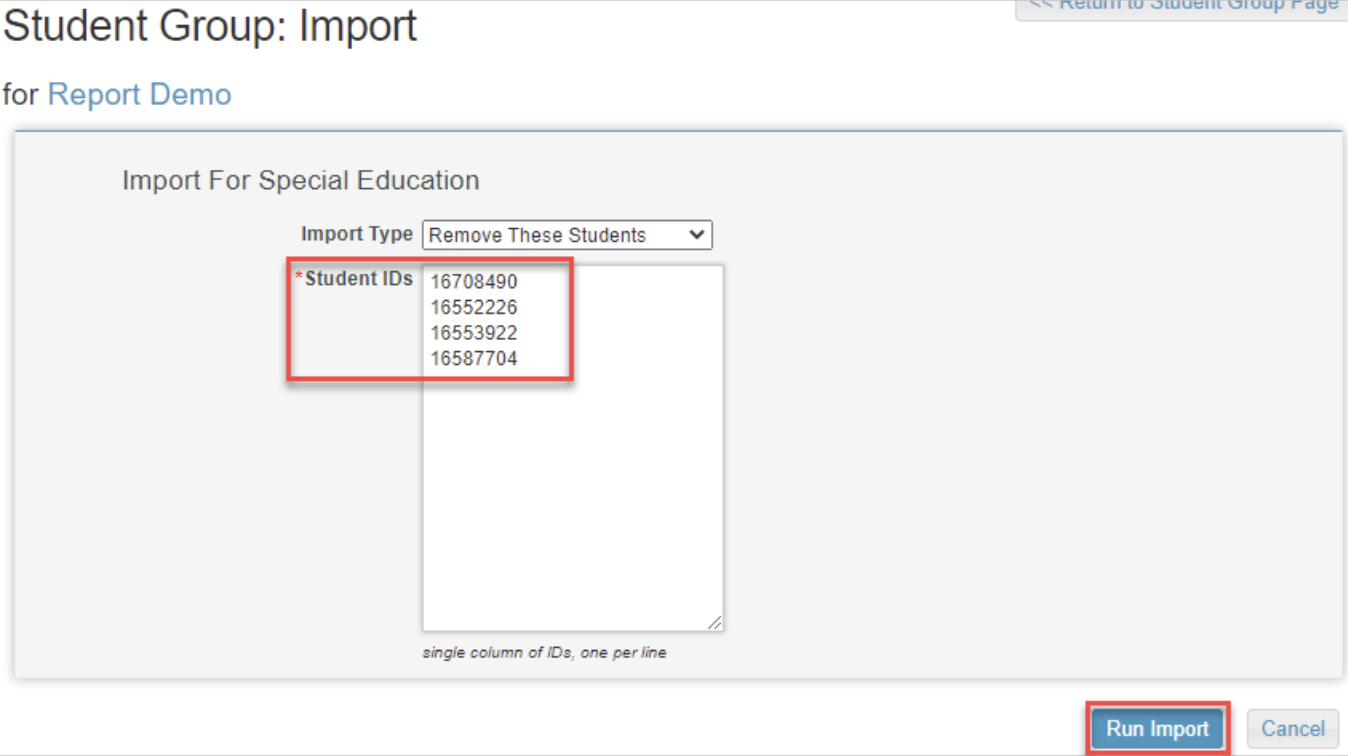
Step 4: Select Remove These Students.
Step 5: Enter the Student IDs for students to be removed. They should be in a single column with one ID per line, then click Run Import.
Add/Remove Students to/from a Student Group for Teachers
For teachers who have been given permission to add/remove students to/from a student group, follow these steps.
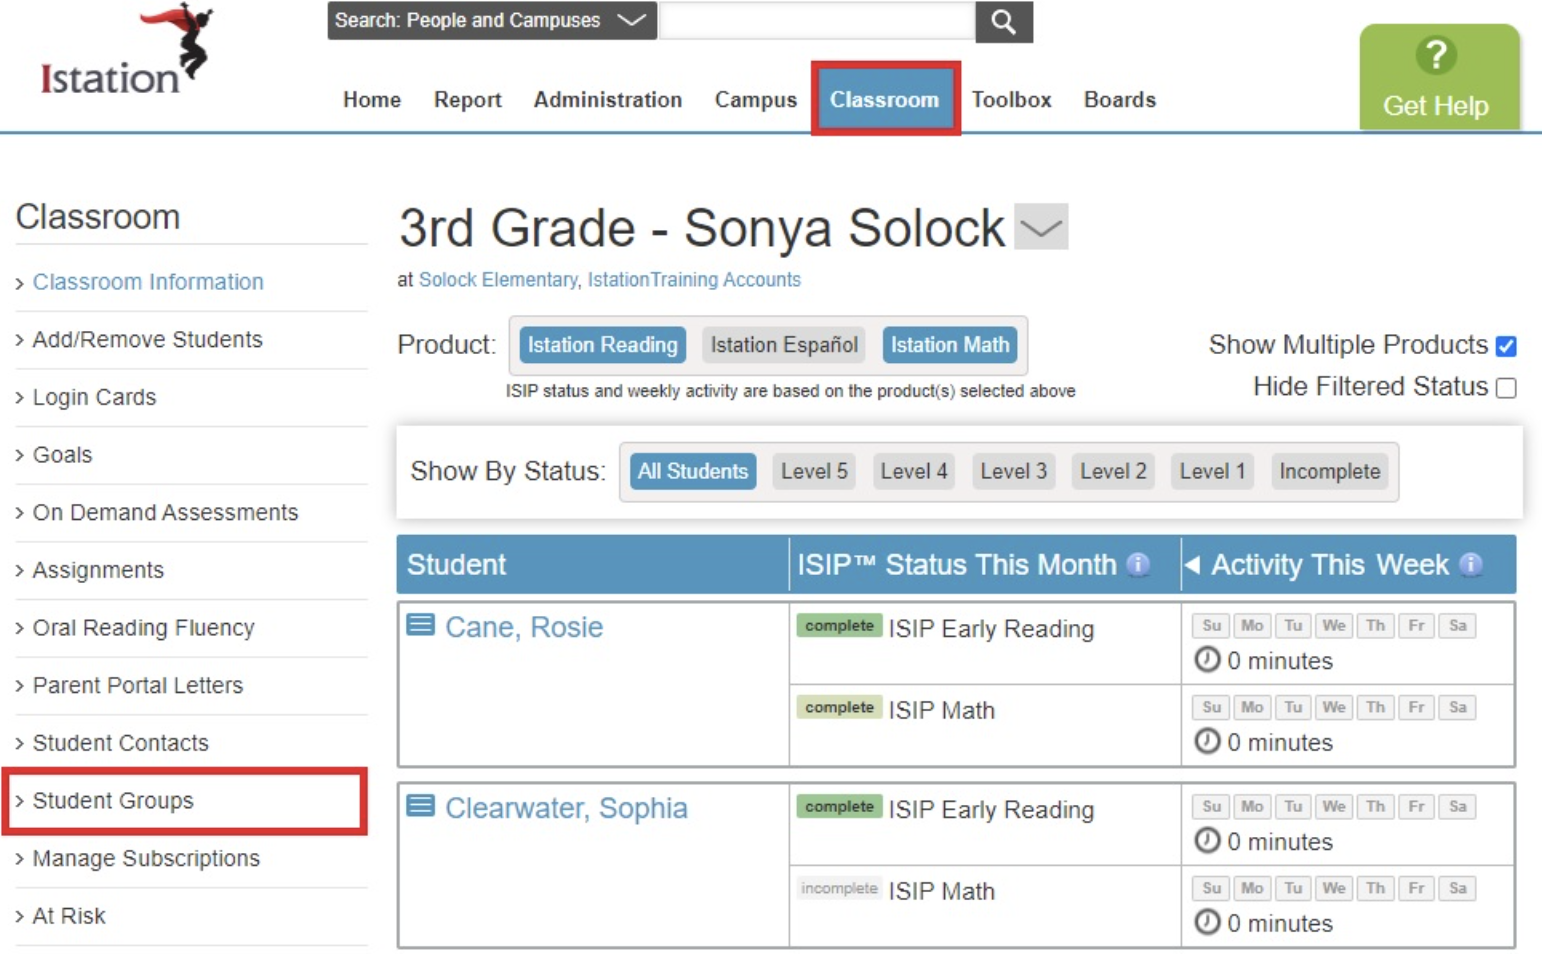
Step 1: Click the Classroom tab at the top of the page, then on Student Groups to the left.
Step 2: Check or uncheck the box next to students' names to add or remove them from the group. Click Submit.

Run Reports for Student Groups
Managers and teachers who have "View Only" or "Add/Remove Students" permission can run reports for groups containing students they can see.
Step 1: Run any report from the Classroom page or Reports tab.
Step 2: Once in the report, click Edit Report to the top left.
Step 3: In the Quick Report Builder, select the Targeted Users tab, then choose the desired group from the Student Groups dropdown menu.
Step 4: Then click Run Report.

If you have any questions about this information, please contact our support team at: support@istation.com or 866-883-7323, option 2.